
Understanding the interface
A guided tour of the Orbis3D window: menus, toolbar, the Layers and Data panel, the 3D viewport, the property tabs, the profile panel and the status bar.
You will learn
- Name the main areas of the Orbis3D window.
- Find tools through the menus, the toolbar and command search.
- Resize and hide panels.
Prerequisites
Data for this tutorial
Sample valley DEM (synthetic) Download orbis3d-sample-valley.tif
- Format
- GeoTIFF, 1 band, Float32, Deflate, tiled
- CRS
- EPSG:32643 (WGS 84 / UTM zone 43N)
- Content
- Elevations 419.5 to 1452.5 m; NoData -9999 in the south-west corner
- In Orbis3D
- Data panel ▸ Sample data ▸ Sample valley DEM (synthetic) ▸ Load
- Licence
- Synthetic, CC0 1.0
Synthetic samples are CC0 1.0; the SRTM sample is public domain. About the datasets
The task
Before you analyse terrain it helps to know where everything is. In this tutorial you load the sample valley and look at each part of the window. Orbis3D follows the layout conventions of Orbis, with a larger 3D viewport and terrain-specific panels.
Steps
- Open Orbis3D and click Try sample valley in the empty viewport.
- Look at the window from top to bottom:
- Menu bar. Project, View, Layer, Analysis, Export and Help. The project name is in the middle (click it to rename the project) and the version is on the right.
- Toolbar. New, open and save; the four pointer tools (navigate, inspect, measure, profile); orthographic camera, wireframe, image draping and PNG capture; panel switches; command search; theme, full screen, help and settings.
- Left panel. The Layers tab lists the terrain layers. The Data tab opens files and sample data.
- 3D viewport. The terrain, the camera controls at the top right and the legend at the bottom left.
- Right panel. Five tabs: Surface (colours, hillshade, draping), Scene (exaggeration, rendering, lighting, camera), Analysis, Info (metadata and statistics) and Export.
- Status bar. Progress messages on the left; on the right the position and elevation under the pointer, the memory used by the working grids, the vertical exaggeration, the camera projection and the layer's coordinate system.
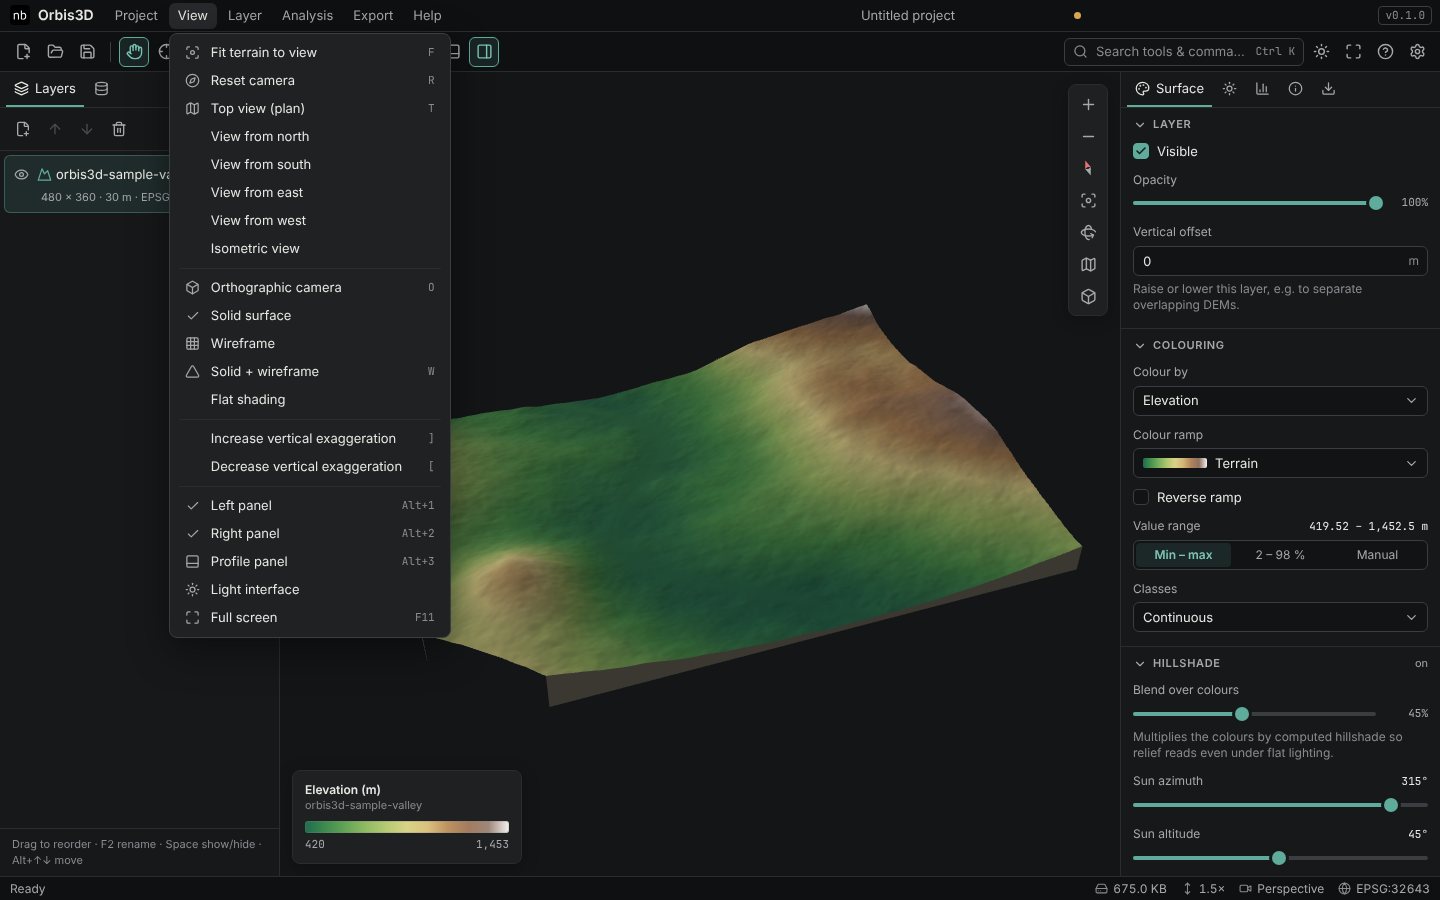
- Open the View menu. Every command shows its keyboard shortcut on the right.
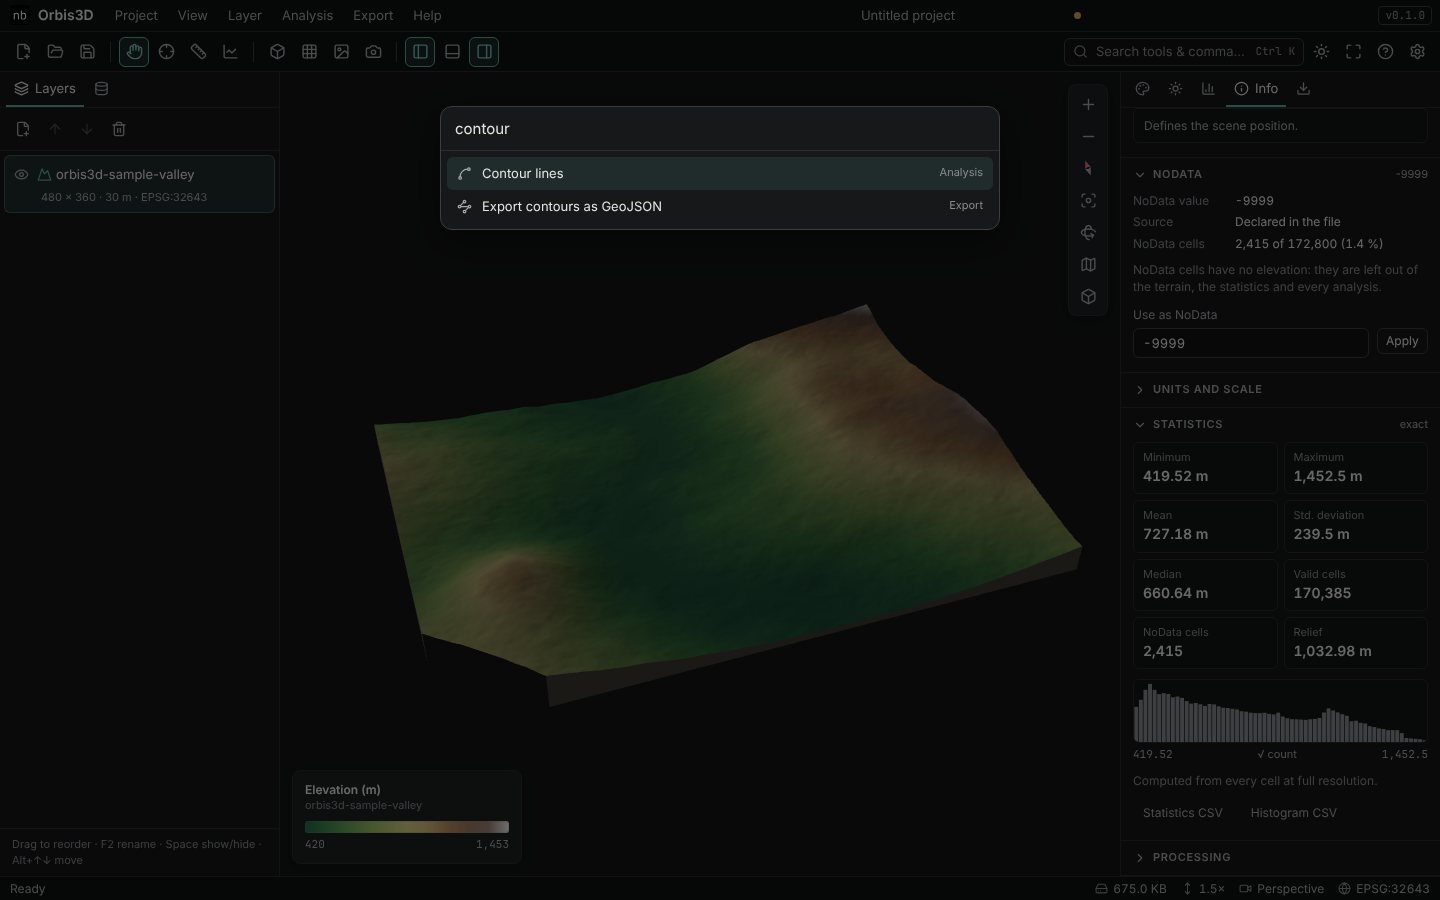
- Press Ctrl+K (or click Search tools & commands…) and type
contour. Press Enter to run the highlighted command, or Esc to close the search.
- Drag the border between a side panel and the viewport to resize the panel. Hide panels with the panel buttons in the toolbar or with Alt+1 (left), Alt+2 (right) and Alt+3 (profile panel).
Tooltips and shortcuts
Hover over any button to see what it does and its shortcut. Press F1 for the full list of keyboard shortcuts. The most useful ones are:
| Keys | Action |
|---|---|
| V I M P | Navigate, inspect, measure, profile |
| F R T | Fit terrain, reset camera, top view |
| [ ] | Less or more vertical exaggeration |
| Esc | Stop the current tool |
Expected result
You can open every menu, find commands by name and show or hide the panels. The status bar reads Ready and EPSG:32643 for the sample valley.
Common mistakes
- Shortcuts do nothing. They are ignored while the cursor is in a text field. Click the viewport first.
- A panel disappeared. It was hidden with a panel button or Alt+number. Use the same button or View ▸ Left panel / Right panel / Profile panel.